Forward Masking
by Doug Moon
Here you are a couple of months into a project, or in my case a couple of years, and it is finally time to start painting. You have this great paint scheme in your head, 7 colors and letters everywhere, and you are about to embark on an endless sea of tape and masking paper. All of a sudden your tricked out 7 color scheme goes down to 2 colors and some clear and you get your plane done and in the air. Later after the fact you always look it over and think "I wish I had gone that little extra step." The above scenario has happened to me many times in the past. Luckily Bill Wilson and Brad Walker turned me onto a very quick way of painting a plane, FORWARD MASKING.
We have all heard of back masking. You apply tape and masking paper all over the plane then paint on a color. Then remove all the tap and masking paper and then tape and over the color you just painted and paint the next color. Then repeat continuously until you applied all your colors. This takes hours upon hours of work that can easily be avoided by forward masking your model as you paint.
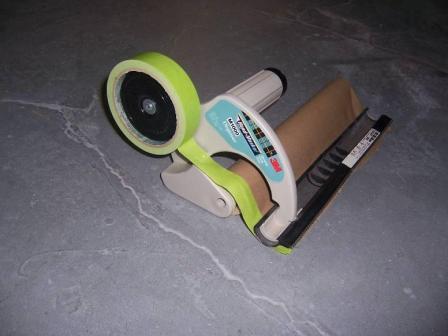
First off you need to purchase a Hand-Masker made by 3M and sold at Home Depot. It applies masking tape to brown paper as you pull the paper off a roll. It is one of those tools you buy once and then wonder how you ever made it without one. It is awesome and real time saver. Plus it is designed with any masking job in mind. Painting a car, your house, or staining cabinets. If you need to mask off something this tool will be in your hand.
I need to tell you that I use base coat clear coat automotive paint exclusively. It is easy to work with and can be used in just about any weather condition and its bullet proof when it comes to sun exposure water exposure and yes raw fuel exposure. Granted you don't want to soak your plane in it but it can withstand fuel very well.
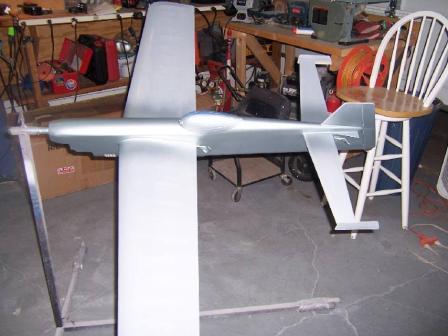
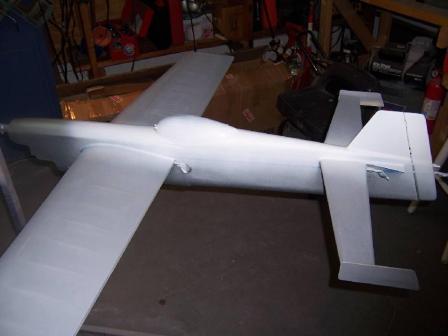
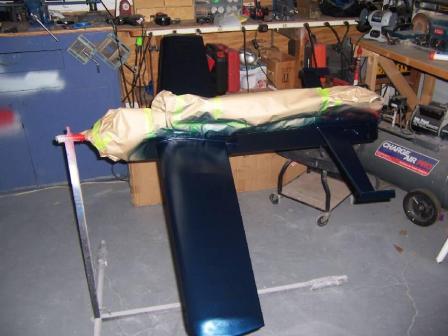
Now let's get started. You have a paint scheme in mind, think of the trim colors first. These will be applied first instead of last. You will be working backwards from how you probably have always done it, unless of course you already know how to forward mask. On my most recent model it was red white and blue with silver as the separating color or trim color. I have the plane sitting there in primer. I fill the gun with some silver and paint in the areas I know where the silver lines will be. Then I take 3M 1/4" blue tape and lay down the pattern I want to show, or be the final trim lines on the plane.
Next, I pick up the white. I know the top half of the fuse is white. I paint on some white all over the top half of the fuse. Yes, there is white getting on the rest of the fuse but it is really not that much to worry about. Let that white flash off for about 20-30 minutes and grab the hand masker and cover all the white area of the plane up to the tape that I laid down to leave a silver trim line.
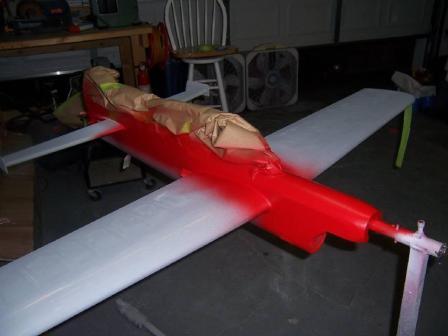
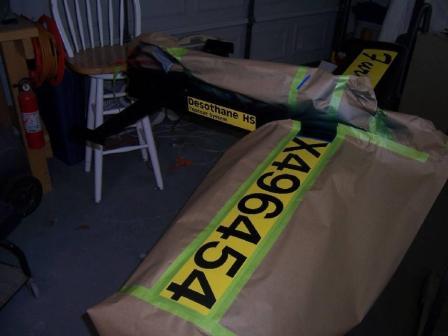
Then I put some red in the gun and shoot red all along the center of the fuse and the cowl. Yes a little bit of red is on the lower fuse but as I said before it is minimal. Let this flash off as well. Then grab the hand masker and cover all the red area to the next tape line that hides the silver trim color. I left the white area covered up as well and just let the next mask cover it up as well.
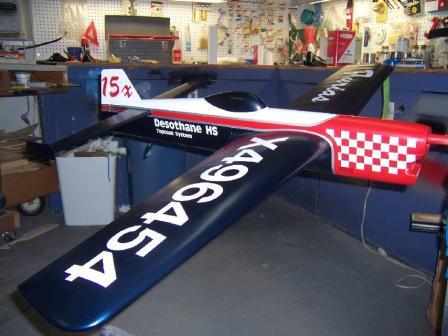
Now I load the gun with blue. Paint the wing, flaps, elevators, and lower fuse. This takes a while due to the large area being painted. Once it is flashed off I grab my stencils I had cut at Penn Industries in Dallas. I pull the backing and place them in their designated areas. Grab the hand masker go all the way around each of the stencils to cover up the blue which is the rest of the plane. You can see from the photos it is just a big paper and tape blob on the paint stand. Put white in the gun and paint the stencils. This takes a few coats going over dark blue but it covers.
Now the fun begins. Start removing tape and paper and stencils. If the stencils and or tape seem to be stuck to the plane use a hair dryer to heat them up and it helps to release the adhesive. I do this when pulling any tape or stencil from my planes. Just very quickly pass over it with the dryer. Just enough to give it a little heat. I saw Windy doing that on a video and I have done it ever since and I have minimal troubles with peeled paint. That is another priceless tip you learn along the way. Remove the tape and paper in reverse order of how it was applied.
Stand back and admire your creation.
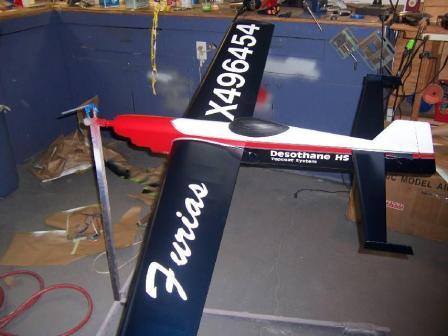
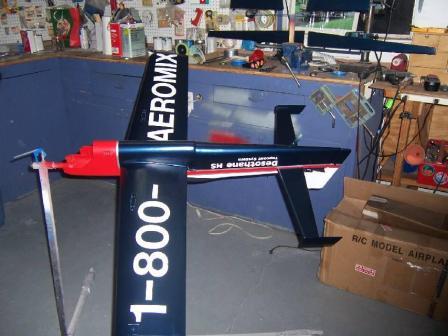
In the photos you see here I have about 9 hours in it from primer to where it stands right now. That means from the moment I turn on the shop light to the minute I turn it off, clean up and every thing. I have to work around children's nap times and they usually give me a three hour window during the day time. I started on a Friday night at 9pm worked until 12am. Then Saturday from 12pm to 3pm and Sunday from 12pm to 3pm. You can see from the photos it is a fairly simple paint scheme so it shouldn't take very long. But if I had wanted to add colors to the wing and tail it would have only taken a few extra properly placed pieces of tape and I would have had multiple colors all over the wing as well. I personally think simplicity with good color choices makes for a very attractive paint scheme. I can take no credit for this scheme as I ripped it right off the real Furias Reno air racer.
I still need to do some checker boards on the nose and paint the canopy. I had a senior moment and forgot to paint the canopy. I usually don't paint them so that is why I missed it. I should have painted first before the trim lines. Then I would have covered it and then painted with the silver and so on. Now I have to go back and mask around it and cover the plane and so on. I also have to add clear.
I would say I probably have another 3 to 4 hours to go and it will be in clear. I think it isn't that bad when full blown paint job can be had in just a few short sessions.
This process is insanely simple and the amount of time it saves is priceless in my book.
I cant thank Brad and Bill enough for teaching me this simple method. I hope it helps you as well.